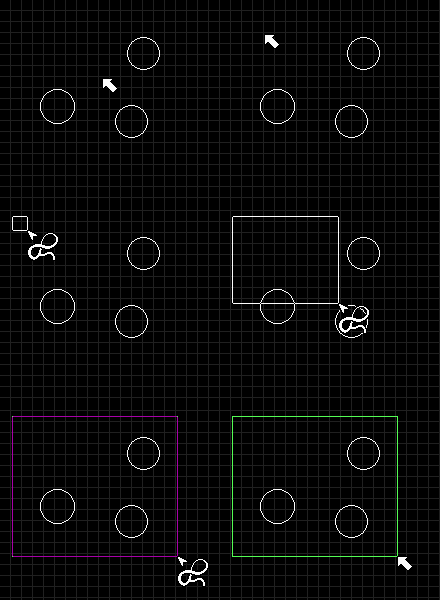
Objects can be added to or dropped from a group. To add an object to an existing group, ensure that some part (or all) of the object to be added is within the bounding rectangle of the group, then at that point, activate the objects menu (the one to be added) and select the add to group option. That's it you're done. The only tricky bit is if you try to add one group to another. In this case the group to be added must be unambiguously selectable or completely enclosed by the bounding rectangle of the group to which it is to be added. This is because it is not possible to tell which of the groups is to be added to the other just by looking at two overlapping rectangles.
To drop an object from a group, move the mouse to the object to be dropped, then activate the group menu. Select the drop from group option, and you're done.
There are two ways to ungroup a group (i.e. break it up into its component objects). Either by entering into ungroup mode or by selecting the ungroup option of the object menu of the group you wish to ungroup.
Entering into ungroup mode is done by activating the draw windows menu and from it selecting the 'object' option and then the 'ungroup' option of the sub-menu.
While in ungroup mode, groups will be highlighted as you pass the mouse pointer over them with the left mouse button held down, or if you press the left mouse button while the mouse pointer is positioned on a group. Using this mechanism it is a simple matter to select a particular group from several that may be overlapping. Simply move the mouse around until the one you want is highlighted. Once you have selected a group using this method, simply press the right mouse button to confirm the operation and the group will be ungrouped.
The second method of ungrouping a group is to select the ungroup menu option from the groups menu. This is done be pressing the right mouse button while on the group to be ungrouped. The groups menu will appear, from this select ungroup with the mouse and release the right mouse button (if it has already been released then simply press the left mouse button).
Which ever method was used to ungroup the group, on completion you will notice that the bounding group rectangle has disappeared. All objects that were part of this group will now be individually editable.
Groups can also be saved, exported, printed, read into and edited.
To save, export or print a group, select the file option in the group objects menu. Then select the appropriate option.
Editing a group is accomplished by selecting the 'open window' option in the group objects menu. This will throw up a re-sizeable moveable draw window for the group. All objects within the group can then be edited. Once the draw window is closed the original group object is updated. This allows us to abort the edit by selecting the quite option of the draw window menu. If the original group is deleted or ungrouped before the group window is closed, then closing the group window will produce a new group in the original window.
To load a file into a group, create an empty group in the draw window (see grouping objects to create an empty group). Open a draw window for this new group (see editing groups). Set the focus to the new draw window, and select the file option in the draw window menu, then the load option. Once the file has been loaded, close the window.
